 |
 |
 |
|---|---|---|
| Ex 3.1: Using standard stain vectors | • | Ex 3.3: Automatic stain vector estimation |
3.2 Setting Stain Vectors from Annotations
Aim:
- Set the stain vectors for color deconvolution from values in the image
Open the image 20.png from the 02_HE_images-dataset. Go to the image-tab. Set the image type to Brightfield H&E if that has not been done yet.
We will try to obtain a better stain separation on this image by replacing the standard stain vectors by stain vectors measured in the image.
3.2.1 Set the background
Make an annotation of a background region (white). Make sure the annotation is selected. Double click on the background value in the image tab and set the background value from the annotation.
Note
If you check the values in the background you might notice that the values proposed by QuPath appear too low. This seems to be a bug. For now you can estimate the background value yourself and set it manually, instead of setting it from a region of interest.
3.2.2 Setting the stain vectors from the image
Select a zone containing only hematoxylin (as far as possible), double click the hematoxylin value on the image-tab and set the stain vector from the region of interest.
Repeat the equivalent procedure for the eosin stain.
Display the results of the color deconvolution using the brightness and contrast tool or the channel viewer. Is the result better with the new stain vectors?
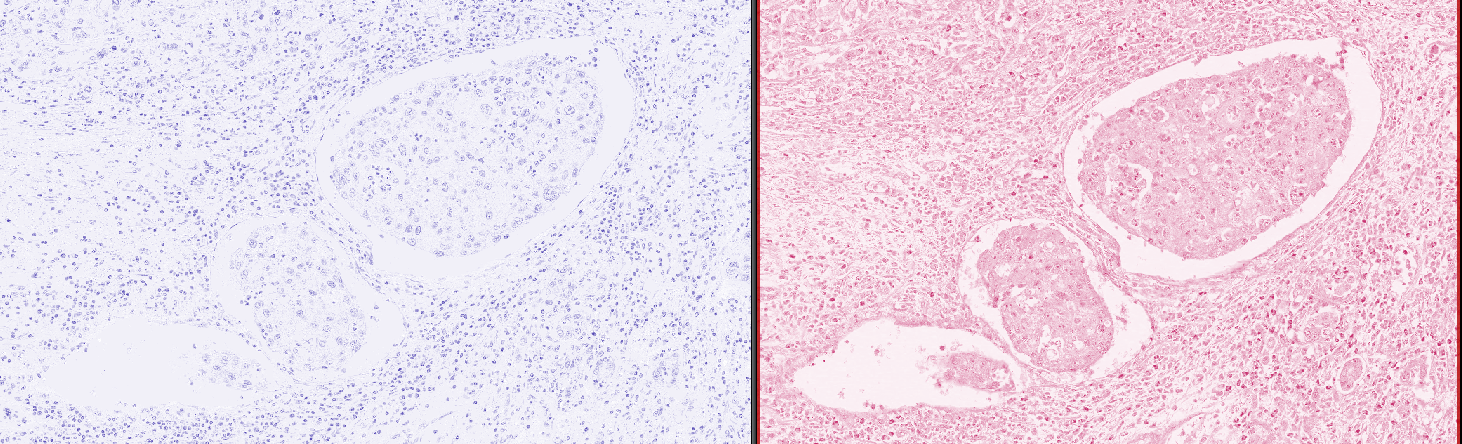
Fig. 2.2.1 – An example of a bad stain separation. You should be able to get a better result.