 |
 |
 |
|---|---|---|
| Ex 2.4: Annotation Measurements | • | Ex 2.6: Classifying annotations |
2.5 The magic wand tool
Aim:
- Learn to use the magic wand tool
- Automatically fill holes in an annotation
2.5.1 Using the magic wand tool
Open image012.lif from the 01-multiplex-fluo dataset.
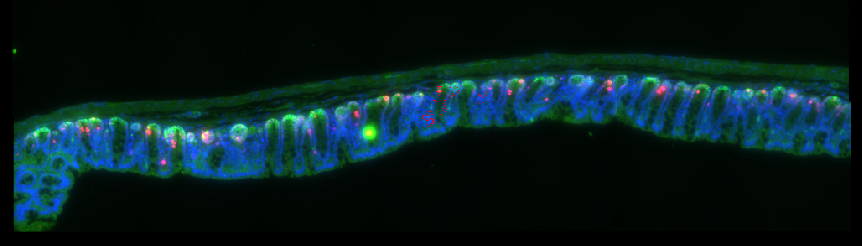
Fig. 2.5.1 – Select the section on the slide using the wand tool.
Use the wand tool ![]() to select the section on the slide.
to select the section on the slide.
Tip
- Zoom out to quickly select big areas!
- Zoom in to correct details!
- Push from the inside with shift held down to enlarge the annotation!
- Push from the outside with alt held down to shrink the annotation!
2.5.2 Fill holes
If the annotation you created is good at the contour but still has some holes on the inside, you can automatically fill them. With the annotation selected, run the command Fill holes from the menu Objects>Annotations.
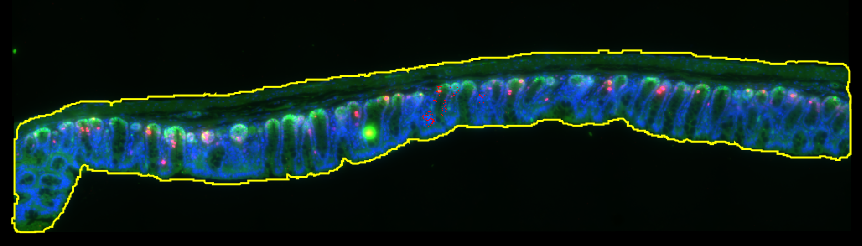
Fig. 2.5.2 – An annotation of the section.
Note
The goal here is to learn how to use the magic wand tool. The annotation in this case could have been made more easily using a pixel classifier applying a simple threshold. You will learn how to do this in chapter 4.