|
QuPath scripts
2024.06.30
This repository gathers generalistic QuPath scripts covering a variety of tasks.
|
|
QuPath scripts
2024.06.30
This repository gathers generalistic QuPath scripts covering a variety of tasks.
|

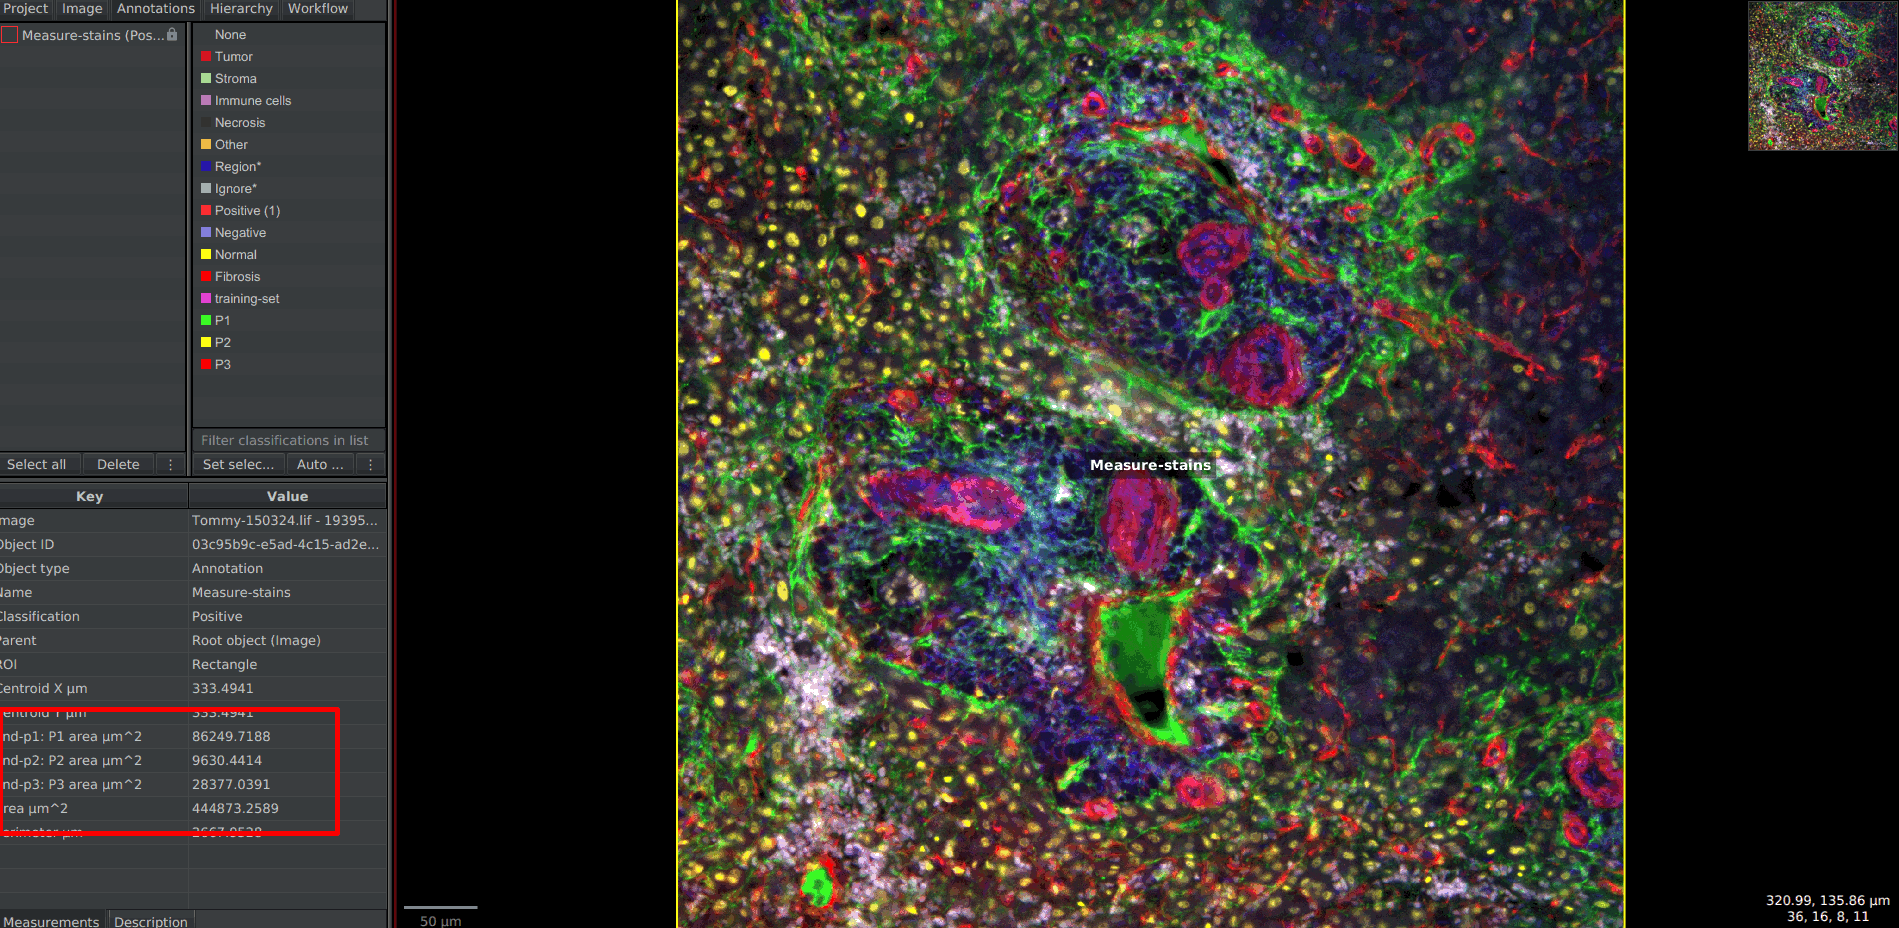
Annotations tab and clicking on the annotation.classifiers folder located in the folder of your QuPath project.stain-per-area.groovy script provided here and move it in the scripts folder located in your QuPath project (along side the classifiers folder). If it doesn't exist, create it.Automate > Project scripts. The script should appear in the list and you can click on it. The script editor should show up, displaying the script.def classifiers = [...];.[), contain only strings (values starting and finishing with "</tt>) and the values must be coma-separated. Eventually, close the list with a square bracket (<tt>]</tt>).
6. To find the name of your classifiers, you can get back in the <tt>classifiers</tt> folder of your project, in the <tt>pixel_classifiers</tt> sub-folder, you will find all the classifiers available for this project. To use it in the list, you must copy the name without its <tt>.json</tt> extension. For example, if you find <tt>my-classifier.json</tt> in this folder, you can add <tt>"my-classifier" to your list.[Ctrl]+[S].Run button. On its right, there are three little dots. In the menu, you can click on Run for project to apply the script to each image.Measure > Export measures. Once again, indicate all the images you are interested in. In the field Export type, choose Annotation.Fluo Global area Classify Measure Pixel classifier